How to install Openai bots
Virtual agents are currently in open beta. They can be used every month with a limited free trial, and beyond these limits, extra fees will apply. For more information, check the pricing page
Configuring your bot
Connect to your WorkAdventure room.
Click on the menu icon (the coffee cup), and then click on "Bots" menu item:
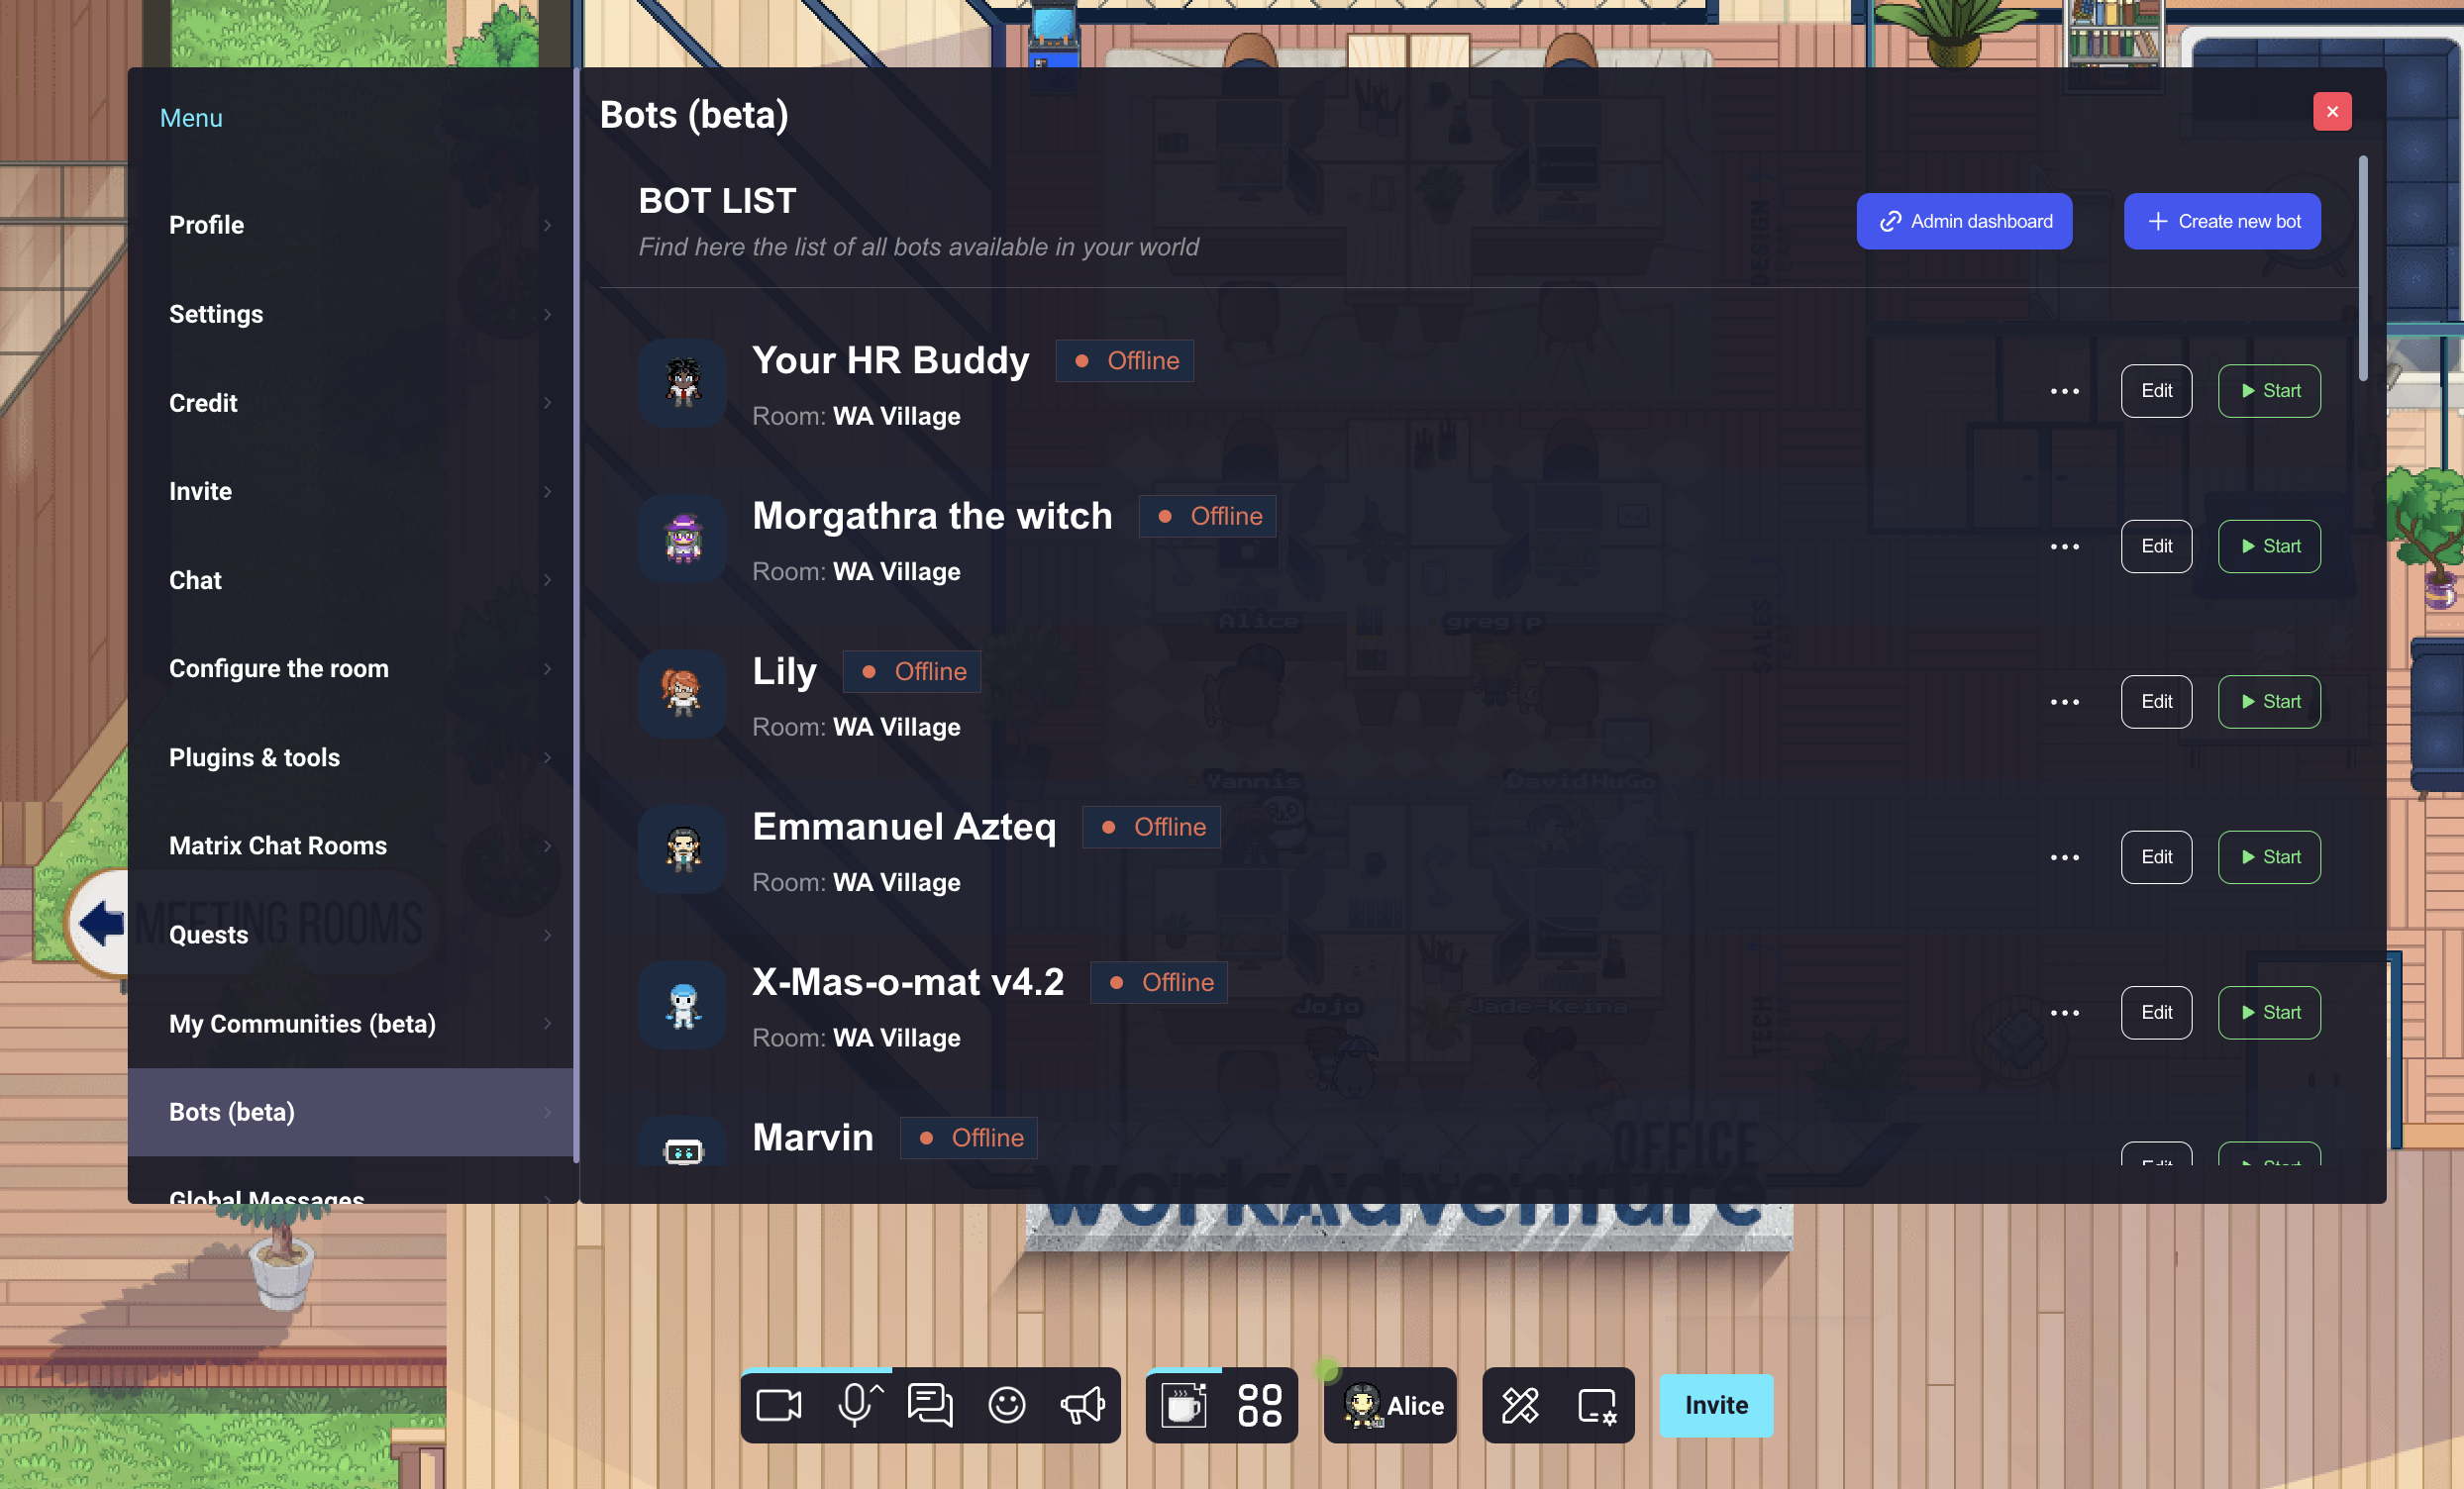
Click on the "Create new bot" button:
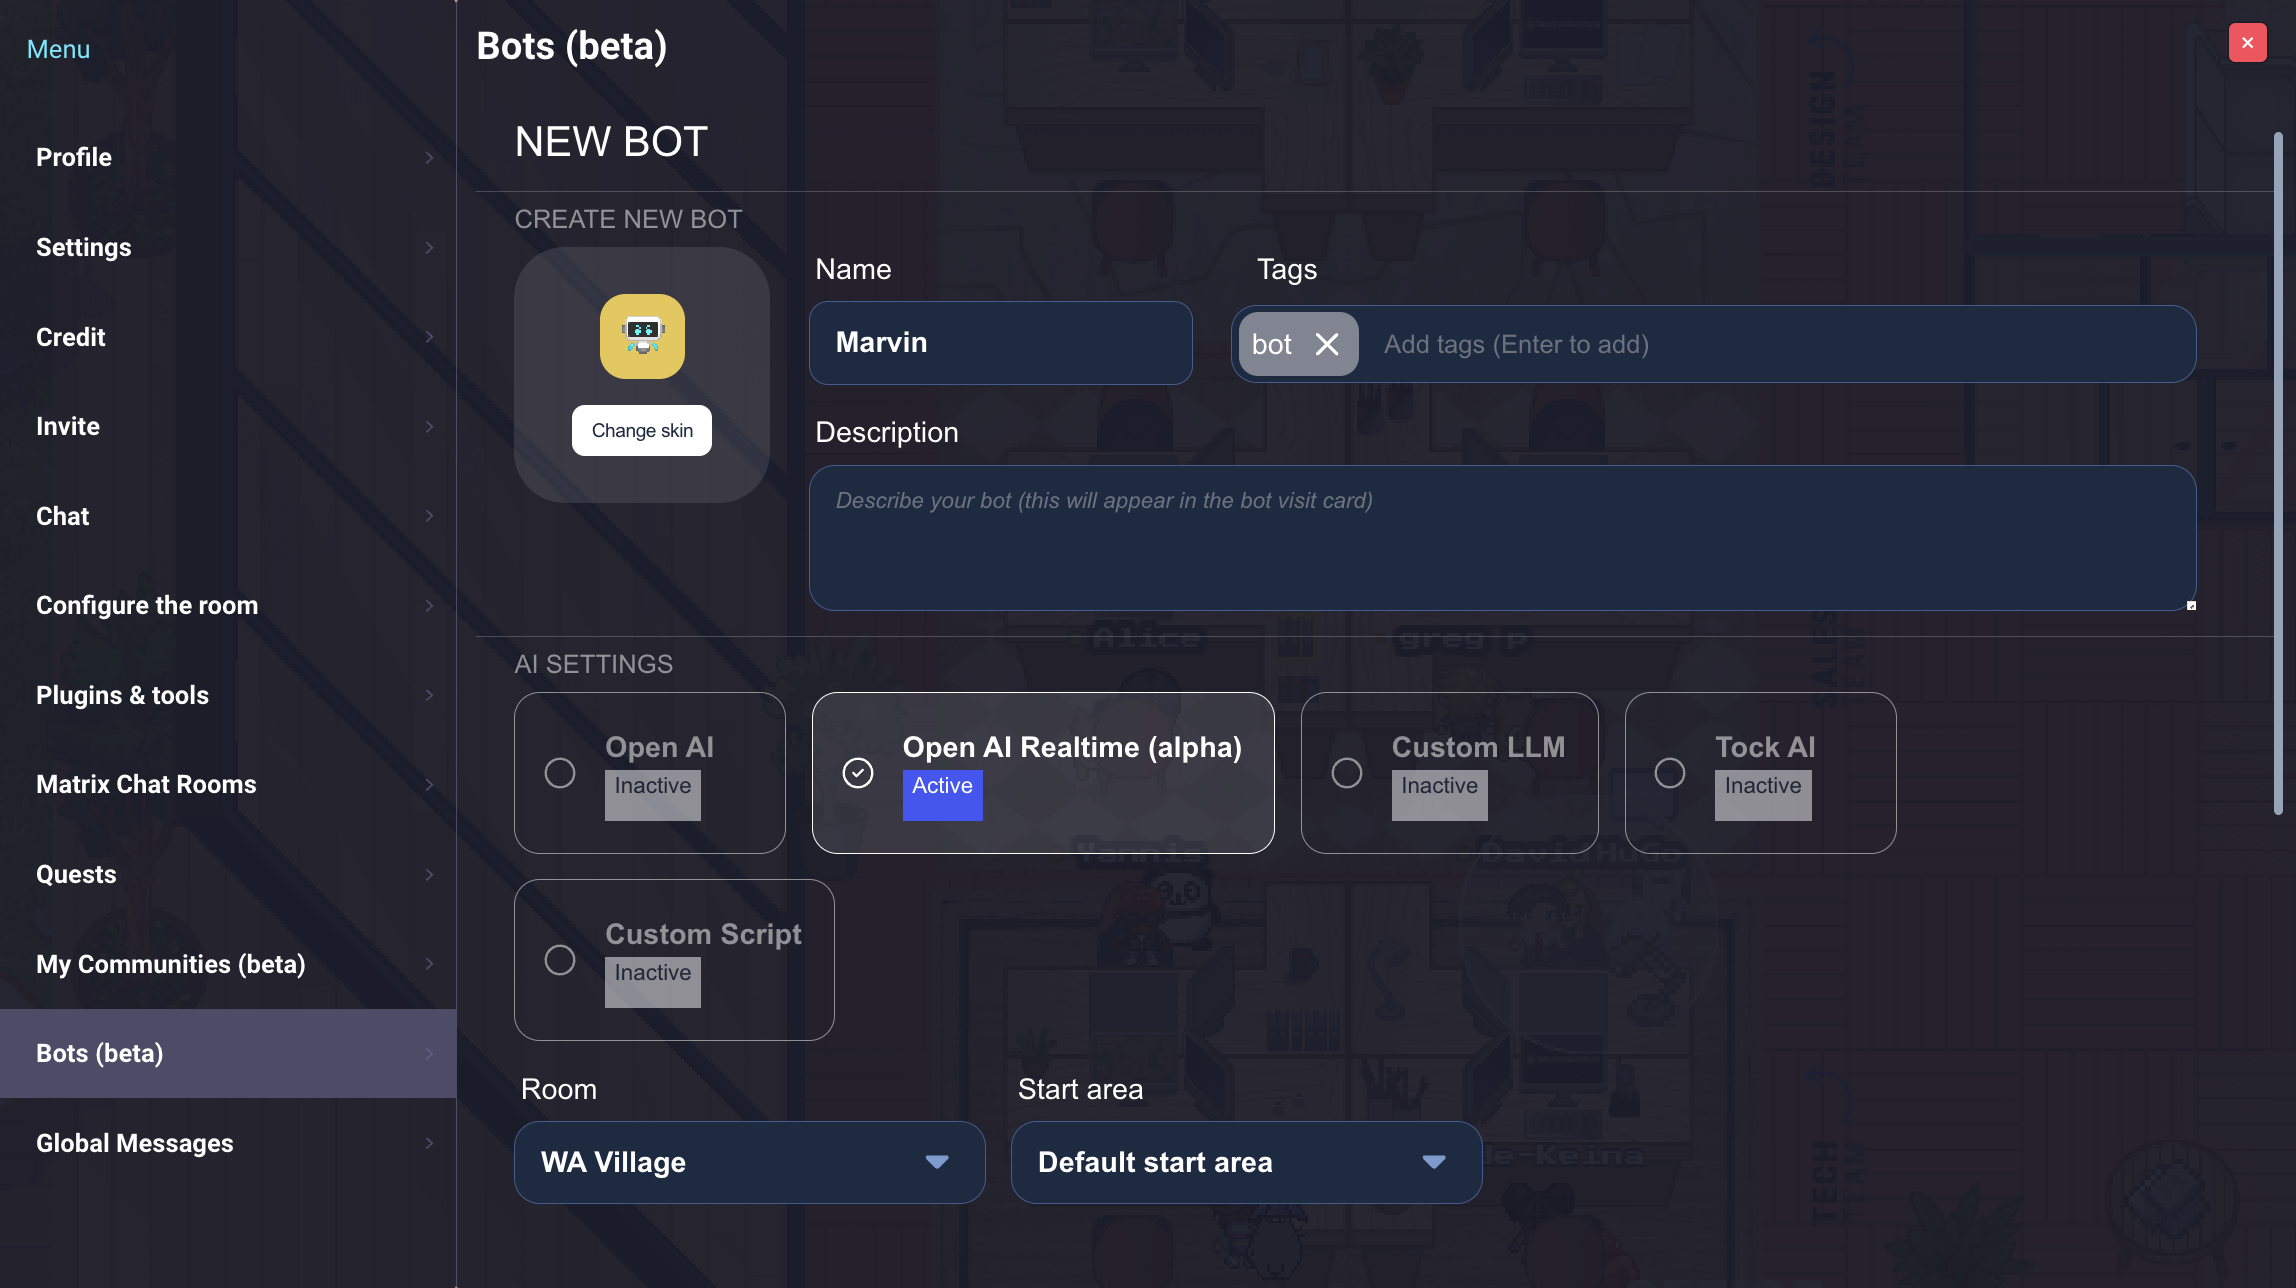
You can give the bot any name and choose any avatar you like (please note that since your bot has a "Bot" tag, it can select any Woka avatar that is reserved for bots). On AI settings, select “Open AI” if you want a text bot or “Open AI Realtime” if you want a speaking bot.
Select "OpenAI" as the bot type.
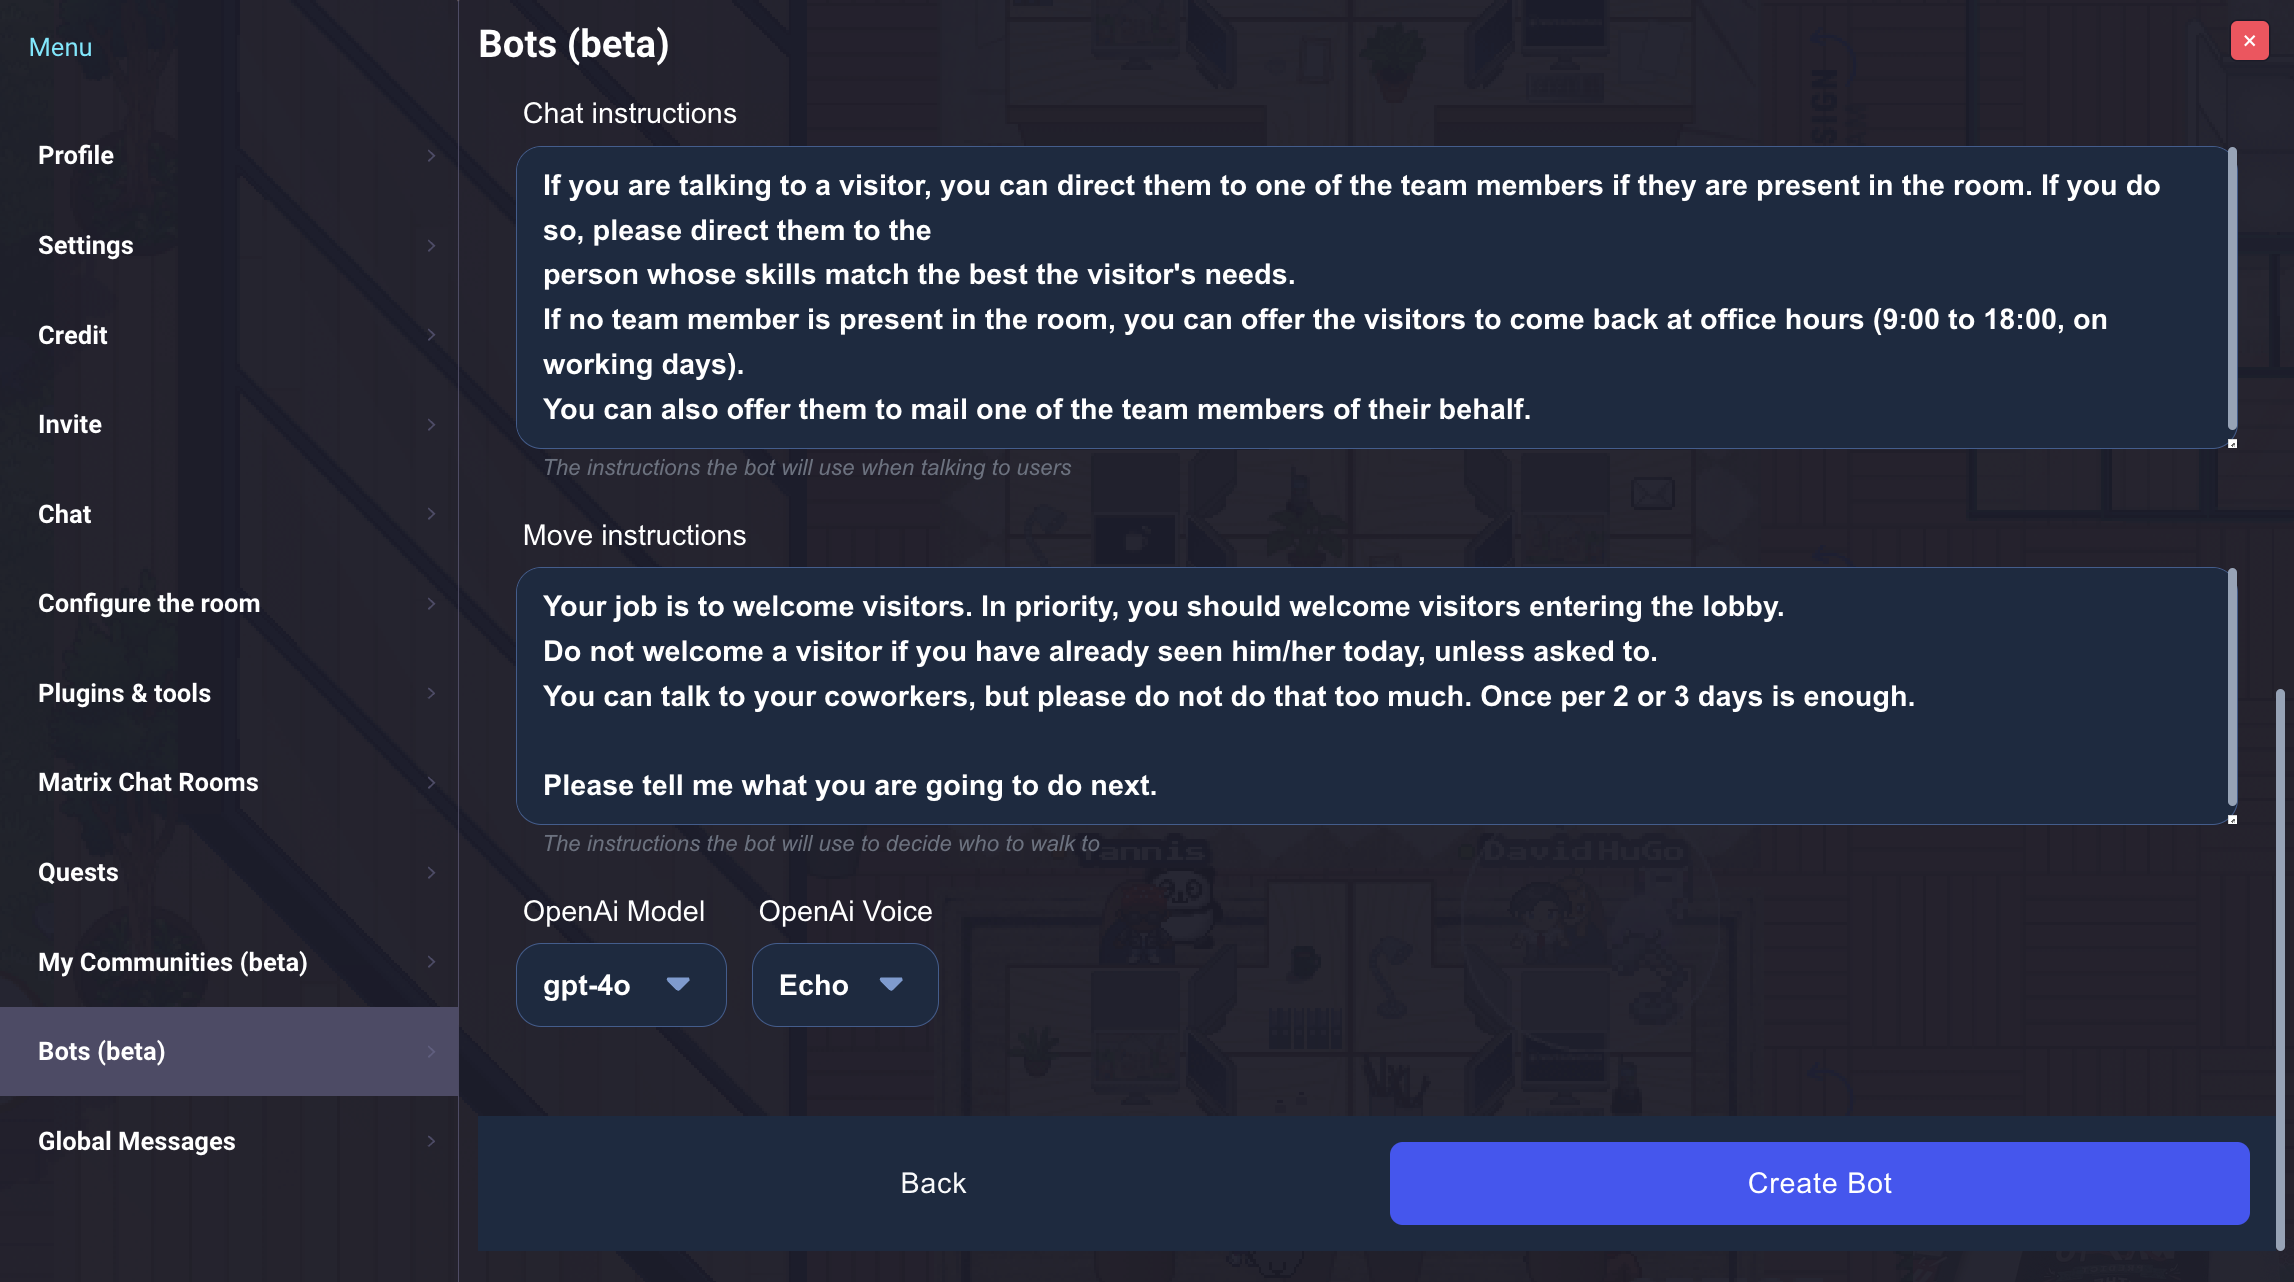
An OpenAI bot requires 2 prompts.
- The chat instructions are the prompt that will be used to generate the bot's answers. Use this prompt to explain to the bot who it is, what it is supposed to do, and how it should behave.
- The move instructions are the prompt that will be used to generate the bot's movements. This prompt is regularly called when someone walks on the map. The bot knows the difference between "visitors" (anonymous users) and "coworkers" (users that are logged in and part of the "members" of the world). You can therefore tell the bot (for instance) to welcome visitors in priority.
Done? Click on Create Bot.
You can now start the bot using the "Start" button and turn it off by clicking on the “Stop” button.